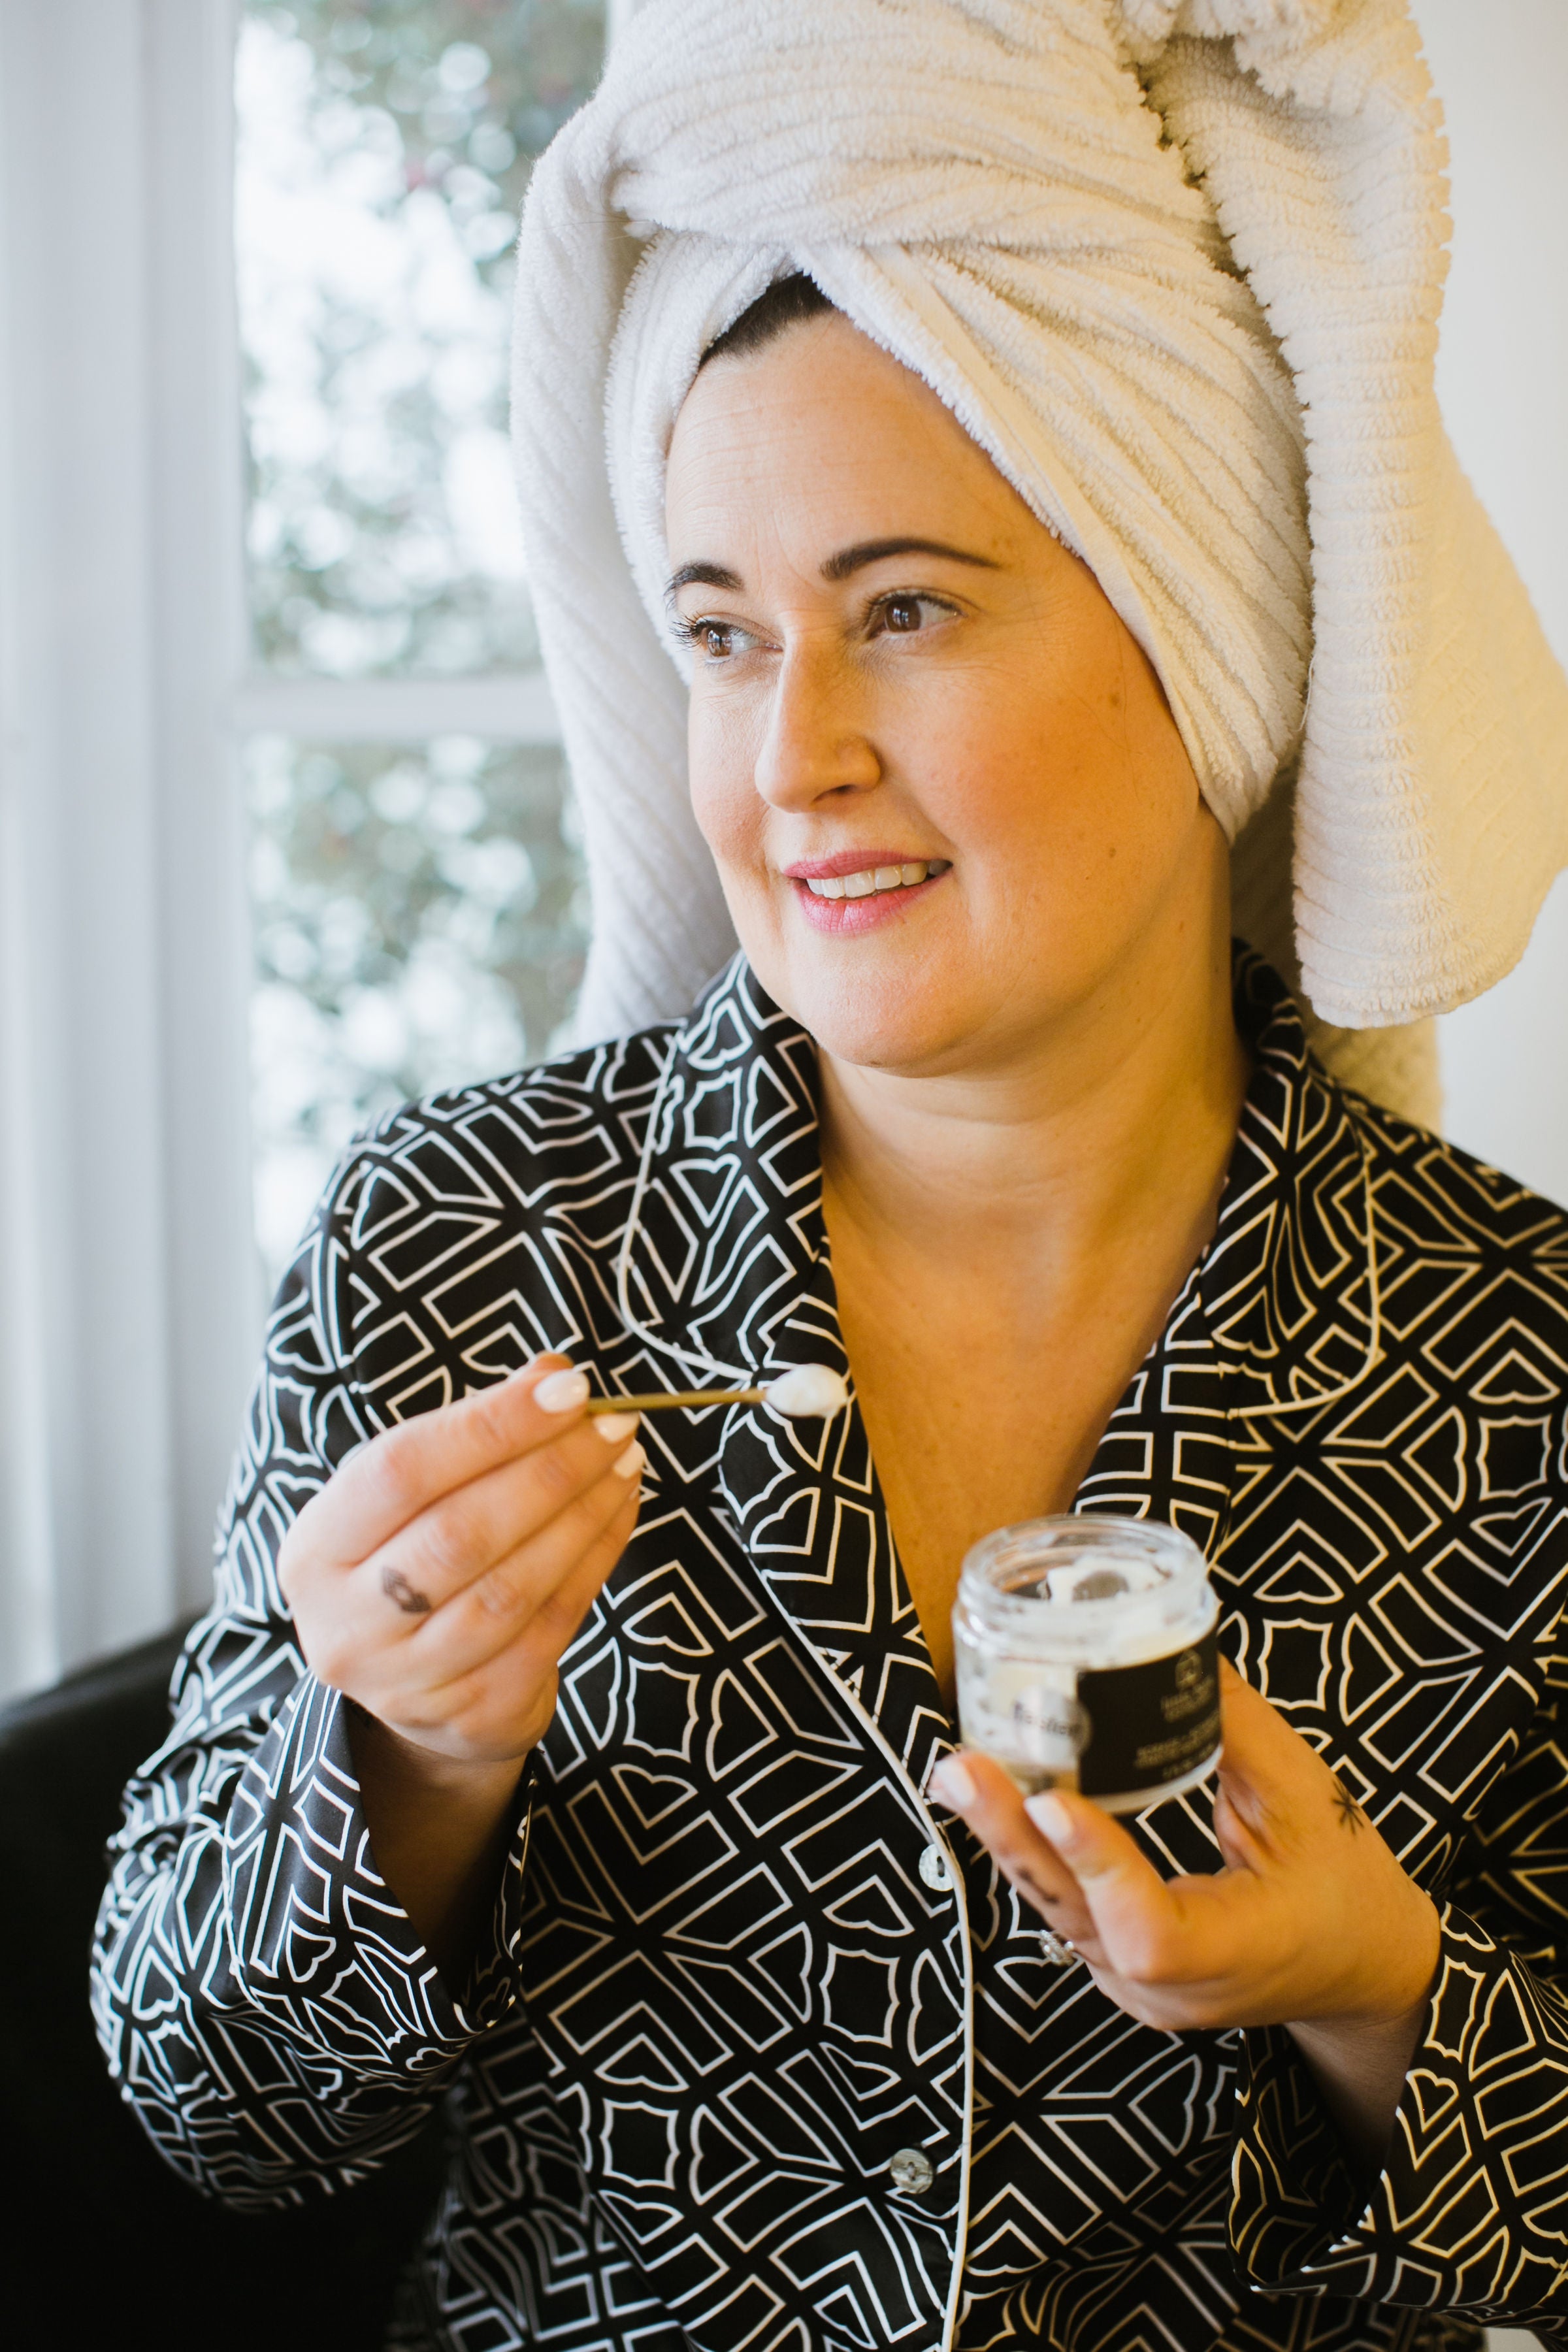
So here I have put together a little step by step on how to cleanse your skin like a professional. Some of these things you may already know, some of them might me a simple tweak to your current cleansing and skin care routine.
Step 1: Get yourself a cleanser specific to your skin type. Talk to your expert skin therapist about what is best for you. This could be a cream or gel, foaming or milk. Some will foam and get all bubbly, some will feel like you are washing your face with a moisturizer but both are totally ok if you have them for the right skin type.
Step 2: Using a small amount of warm water and a pea sized amount of cleanser, begin to massage the cleanser in quick circular motions over your skin. If your cleanser is also safe to use to remove eye make up, gently work into your brows and lashes and places you’ve added an extra layer of concealer. Make sure you get any make up out of your hair line and also cleanse your neck and chest.
Step 3: Rinse with warm water- not hot, not cold. Hot or cold water can exacerbate redness, strip your skin of its natural oils (much like hot water on a greasy frying pan) and lead to rosacea and other skin conditions. Use luke warm water and don’t put your face under a hot running shower. Gently wash away any cleanser until you feel that it is all gone from your skin.
Step 4: Repeat a second cleanse. Think of your first cleanse as the one that removes make up, grime, pollution and dirt. The second cleanse is now cleansing your skin and removing oil and old skin cells. Work in small circular motions, then rinse with warm water until all of the cleanser has been removed. Don’t forget your hair line, neck and chest.
Step 5: Pat your skin dry with a soft towel. Don’t wipe or scrub your face dry. This step is simply about drying the water thats left on your skin. You could leave it to air dry or pat dry with a tissue if your skin is feeling sensitive. Whichever you choose, gentle is the key here.
Your skin is now clean and ready for you to apply the next steps in your skin care routine. Follow with a vitamin rich serum or oil (think of this like a wheatgrass shot for your skin!) and a moisturizer specific to your skin type.
Applying serum or moisturizer to a skin that’s not properly cleaned will interfere with how these two products work making your investment in great skin care wasted.
So tonight, before you pop into bed, make sure you take a few extra moments to cleanse properly cleanse and care for your skin.
You can shop all of my skincare collections right here!! Not sure which cleanser is right for you? I got you. Shoot me an email at Jennie@jenniefresa.com and I'll do my best to make a recommendation for you.
Xo, Jennie


